
I LOVE that song.. have done since I was a little girl :) A couple months ago someone asked whether it would be possible to felt a tambourine bag.. and the idea really took hold, I just had to make one!
And all the while Mr Tambourine Man was playing in my head :)
 |
| Pictures of hand print cave paintings & rough notes |
 |
| I drew round and cut out my hand print.. then made some smaller ones (reduced in size on a photocopier) |
 |
| Carefully drew round these hand print templates onto white commercial prefelt and cut them out |
 | ||
| I made a block (the same size as a tambourine) from a couple of cake-boards and Styrofoam and lots of tape.
|

 |
| Then layers adding in brown merino.. and slubby red yarn on the final layer. Total of 6 layers each side |
 |
| Then the hand print and bits of red and dark blue merino scattered over to represent the speckles on the cave paintings |
 |
| Starting side 2 design.. tiny hand prints |
 |
| Part way through |
 |
| Once the resist was removed I worked it really hard, throwing and pummelling |
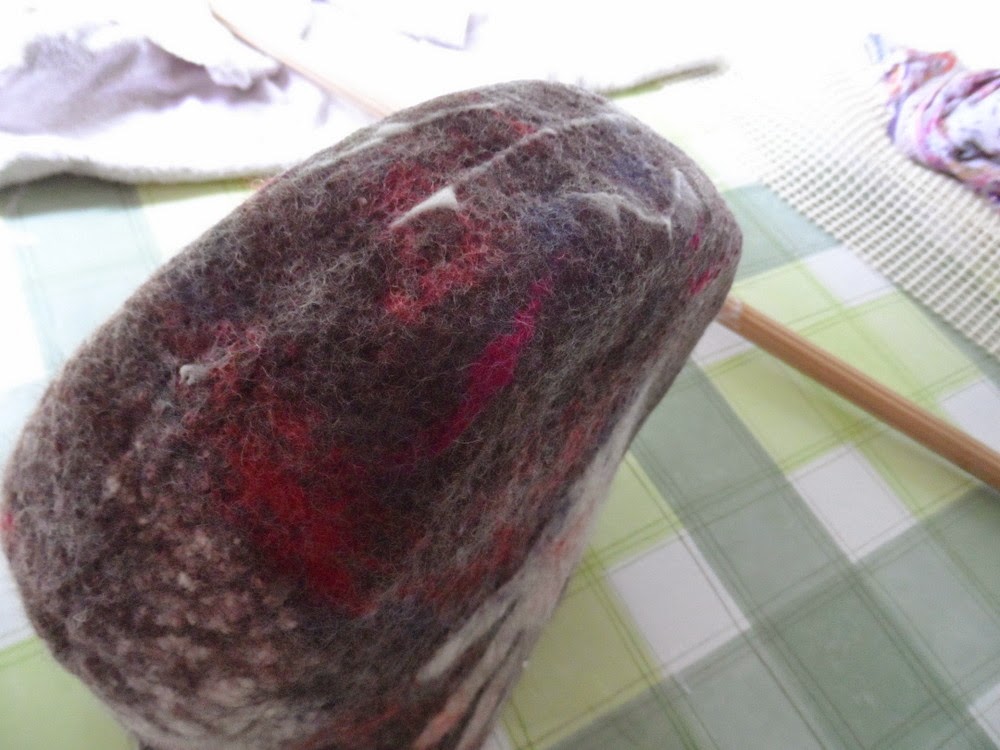 |
| When it had shrunk down enough I put the block I'd made inside and worked the edges for ages |
 |
| Rolling with my ridged stick really helped for this stage |
 |
| I roughly stitched the opening closed over the resist |
 |
| Worked 'till it really tightened it up as hard as possible |
I removed the block while I was rinsing it, but put it back in so it would dry in the shape I wanted.
 |
| With handle sewn on |
 |
| Drying |
 |
| I made the handle from the same Falkland, merino and slubby yarn mix with the addition of some lovely white Wensleydale curls at the ends. |
 |
| I like the red and blue 'bits' scattered over |
 |
| My hand print looks like a 10 year olds hand now :) |
 |
| And these look like baby hands |
 |
| I found a lovely strong zip for this bag.. it's hand stitched in |
I don't have a photo of it with a tambourine yet.. but will have soon I hope. I had borrowed one from a friend and she needed it back before I finished the bag.. as soon as I can I shall have to try the fit and take a photo.
10 comments:
Fantastic project, Deborah!! In the fulling photo, it kind of looks like it's making itself with its little hands!! :)
I love this bag - great shape. The hand "prints" work very well. And very clear instructions on how to achieve it.
How much weight could you put in the bag without distorting the shape?
And how did you insert the zip - by hand?
Thanks!
Fabulous bag - cleverly made!
Heather I know what you mean it does look like they're working away! lol xx
Thank you Lyn :) It was one of those projects I'd been lying in bed at night planning.. always nice to get them made and out of mind xx
Thanks Deborah, I didn't mean it to be a tutorial, I'm just sharing what I did.
Regarding weight.. it'll certainly take a tambourine :) as that's what I made it for. I don't supposed the squared sides would keep their crispness if it was used as a bag loaded with weighty stuff.. but that's not going to happen anyway.
The zip is handsewn in with strong thread.
x
Wow. Very nice!!
:) Thank you Nancy!
xx
Beautiful, I love the shape of this Deborah and the wisps of red through it. It fascinates me how you get the designs to work out.
Aaah thank you Ruthie :) Glad you like it xx
Thats absolutely fabulous. I wish I could do real 'proper' felting like that.
Thanks Jackie :) I'm sure with your skills you could felt anything you wanted! xx
Post a Comment