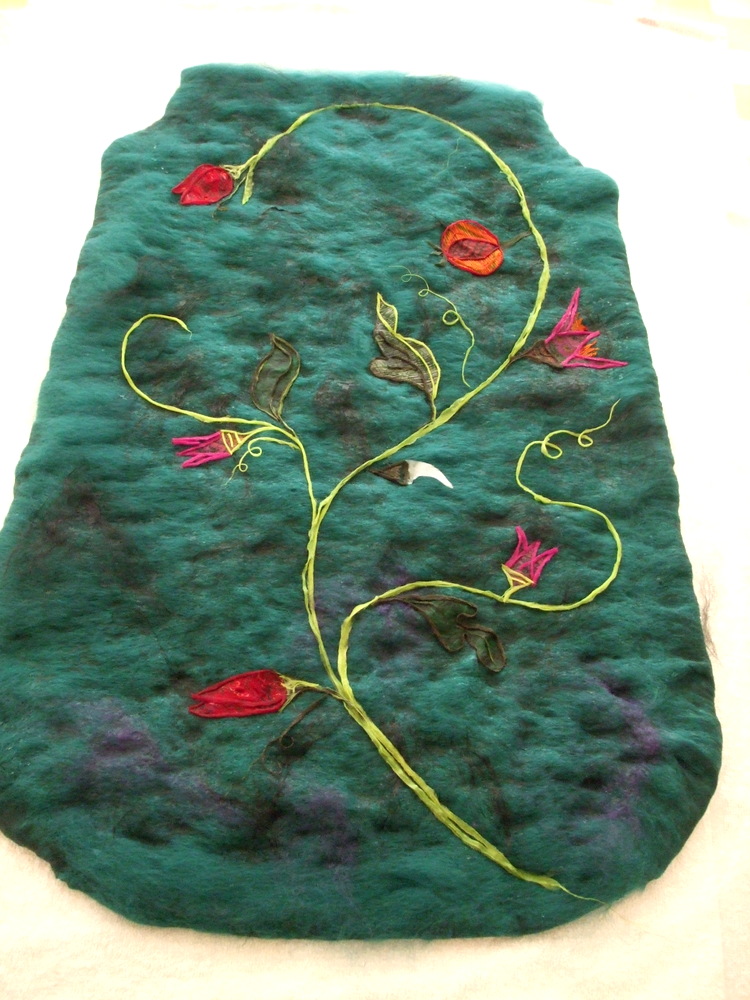
Thursday 29 November 2012

Revisited and Revamped #2

Do you remember my Dragon bag?  I felted it this time last year.. 

from last year
.. and though I was very happy with the shape and style I was never satisfied with the closure!  So a couple of weeks ago it got a make-over :)

Luckily I knew just which shades of fibre I had used... and still have some.  So, I made a matching piece of felt and cut an asymmetrical flap from it.. then decided the top of the bag was a little floppy for my liking and cut a band from the new felt to sew around the inside of the bag, from one edge of the flap to the other edge of the flap.  

I repositioned the ceramic moon button
The flap is hand stitched to the inside of the bag.. Then all round the top (including the join of bag top to flap) I blanket stitched with teal silk thread.


The panel and flap, now that they are in place have made a nice sturdy opening - no more flopping about!

The gold marks show where the integral pockets are..
The reinforcing panel blends in well (the label is stitched to it)
 To close the long tendril wraps around the moon..


I'm really happy with it now.. I like the quirky fastening of wrapping a cord around the moon :)  Its quite secure too, 'specially if wrapped round a couple of times.

So far the only other pieces in the 'redo' basket that I have worked on are pieces of jewellery.. and I haven't photographed them..  it's a work in progress that I can just dip into as and when I get the time.

Right now as I am finishing typing this post I am looking at a glorious winter sunset through the woods.. I love winter sunrise and sunset!  Now I am off to cook a beef stew for dinner yum
xx


Saturday 24 November 2012

Revisiting and revamping.. #1


A few weeks ago I finally reorganised my craft room.. its now just a store room really as I do all of my felting in the dining room :)  While sorting I came across quite a few pieces that had been lurking at the bottom of storage boxes for one reason or another.. some had been to craft fairs and didn't sell, others that I had never been 100% satisfied with but couldn't figure just what needed to be different for them to work for me.  So, I put them all in a basket and have been working my way through them... changing them up.  Here's what I've done so far..


I had 2 simple, seamless pouches which fastened with a cord through the eyelets.  I was looking at this one thinking "hmmmm, what can you become?"  I suddenly thought...  How about an..

OWL!
 I cut the top flap into shape and used lots of appliqué patches..

Leather for his beak makes a strong pull tab for opening his popper.  Harris tweed scraps became wings, and offcuts from the pretty cotton I used to line him was just right for his eyes.. which I finished off with a couple of old plastic buttons.  


I machine stitched the zip into the lining and then hand stitched the lining into the pouch and finished it off with a blanket stitch all the way around the opening.

I forgot to take a photo of the red pouch before starting work!  But it was basically the same as the one above... only red :)  I decided to make a mini-bag out of this one..


Zipped and lined in the same way as the owl pouch
I love the colour combo.. hot red & turquoise, it's not very easy to photograph though..
Green buttons on the bag handles :)
This pouch already had the black heart appliqué . and I really like it so didn't want to take it off... I think it still works..

I like them better now :)

Sunday 11 November 2012

Tree of Life #2

 After laying out the bag and drawing the design took so long, I ended up leaving this till the next day to felt.  I worked it HARD, got loads of shrinkage and a nice sturdy felt.  The sari fabric worked really well for the motifs I think.. these are my favourite bits :)

The pomegranates'
Acanthus leaf

The tussah silk on the inside really lightens it up
The felted bag was just the right size.. with a nice roomy bell bottom and 2 integral pockets.  The only 'problem' was I know that I'd be tempted to everload it due to its size.. and though it could easily carry weight the handles would end up distorting.   They needed reinforcing!

So, I felted a matching piece of felt and cut it to match the shape of the upper part of the bag.  I did it in 2 pieces which met at the sides of the bag.  Carefully pinned then hand stitched it in place.
Blanket stitched handle reinforcing.. and integral pockets.  The mobile phone pocket is near to the top so you don't have to go delving into the bags depths when it rings
both sides

Lovely and sturdy now :)

Project finished.   Tree of Life design out of my head & I'm a happy bunny
x

Tree of Life bag #1

This design had been whirling around in my brain for ages!  

My Tree of Life bag was inspired by things I came into regular contact with in our local museums when I worked there; the bed hangings at the Oak House ( a Tudor House) along with other Tudor & Jacobean crewelwork embroideries seen in other museums.. unfortunately I don't have photos of any of these!  And the William Morris wallpaper at Haden Hill House, William Morris created tapestries inspired by the older Tree of Life and Mille Fleur tapestries.. quite a few of his wallpapers remind me of them too.  Anyway.. that was my inspiration.

SO..  I wanted to make a nice roomy, sturdy day bag.  One that can happily carry everything you need for a day at work, or your knitting / crafty projects for a week away.  

I cut a pretty huge template.. it was getting on for 4 foot long and nearly 1 1/2 foot wide..  I sprinkled lots of green and purple tussah silk on top of the resist, added pocket resists, and laid out 6 layers black on the inside and mallard green outside.  I used a slightly coarser merino fibre than usual to make a heavier felt.

On top of the last layer I drew the design.  Both sides are different.
Design drawn on in merino and tussah silk fibres

One of the features in the Tree of Life embroideries that I absolutely LOVED is that the leaves, flowers and fruits were filled with intricate patterns. 

I used differently coloured and patterned silk sari's to create a similar effect 
 I cut the motifs from vintage silk saris, laid them in place and outlined them with merino.  

All laid out and ready to felt
Finally scattering more purple tussah silk onto the mallard green areas.


I was certainly ready to get felting by the time the design was finished!  It took forever for such a simple looking design.. 


Unrelated anecdote..
..A few years ago I had the task of setting up a William Morris printing workshop for children and families at Haden Hill House, a Victorian House with lots of William Morris wallpaper.. I immersed myself so much into his designs that I came out the other end quite convinced that we absolutely HAD to have some William Morris wallpaper in our living room - thank goodness I got over this before putting any up... I don't think it would have suited our old 3 bed semi :) lol