Wednesday, 7 August 2013

Inspired by Pinterest


I must admit I'm a bit of a duffer when it comes to social media.. but I do like Pinterest!  It's a bit addictive I think.  ANyway.. I just wanted to share this bag I made recently.  Inspired by this beautiful ancient Egyptian blue faience bowl that I spotted on Pinterest.  This is my felted bag version of it :)

I used on of Sharry's gorgeous handmade ceramic buttons :)

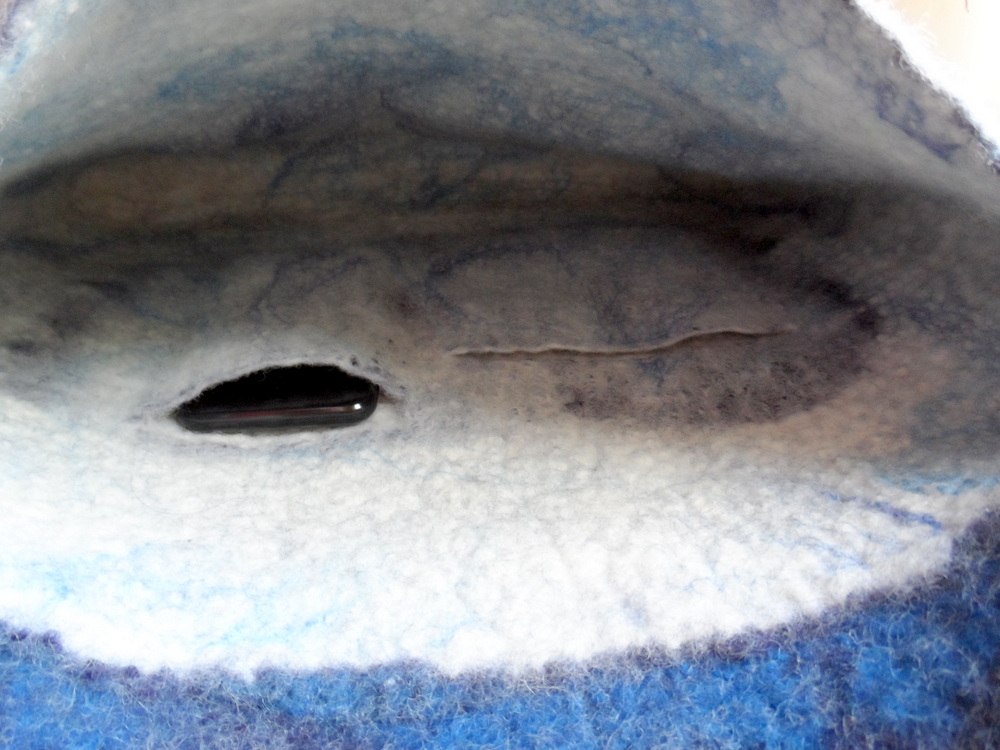
I stretched silk caps over the resist so the show on the inside.  There are
2 integral internal pockets, one on each side.
With a tiny flap and handle loops
Drawing the dancer from thin strips of merino fibre
and the on the front a musician with lotus and papyrus border.
Part way through felting, just after removing the resist.
I didn't take any more making photos, but here are a couple of close ups

Some smaller details were lost during felting, but I think that
works too.. gives it a slightly aged effect.
I love the dancer :) did think about adding a few beads
 but I think I'm going to leave it be.
xoxo

Wednesday, 31 July 2013

A hat in it's new role :)


I just had to share this photo!  I was recently asked to make a hat for a 16th century re-enactor.. and here he is in his kit and sporting my hat :) -  the chap in the middle.  Doesn't it suit him?!

I really do LOVE it when customers send me pics of them wearing my hats :)

This hat was basically the same as my Radagast hats, but made from all natural British wool; Jacobs, BFL & Shetland.. so it has lots of lovely texture. The pin on the front is a rose of York.. Josh's is a Yorkshire regiment.  Amazing how wearing it at a slightly different angle gives such a different appearance.

:)

Sunday, 28 July 2013

My latest critter cosy..

Please meet Nelliephant :)


My cuddly red Indian elephant
 tea pot cosy :)
Nelliephant has been growing in my mind for a while.. always red.. though I'm also picturing her in emerald green now too :)


As with all my cosies, she was worked HARD and shrunk as far as she would go.


Blocked and left to dry.
I'd already filled her trunk with wool fibre to give it some plumpness
When dry I filled the head with wool fibre to keep it firm (and sealed the fibre in)..
added a couple of nice glass bead eyes.  Then embroidered a detached
buttonhole stitch all the way around the trappings
This Nellie is going to have to stay! :)
I've put her in my shop as a made to order though..
and I've just had a request for a pair made into door stoppers :)
The silk worked beautifully for the head-dress and blanket
As you can see, Nelliephant was born on a week that I was completely fixated by RED
xoxo

Tuesday, 23 July 2013

When one simple addition..

didn't go as simply as I expected!

I recently had a request for a Hobbit Hole tea cosy complete with Party Tree on top.  No problemo.. I could picture just how I was going to do it; felted cords, beads for leaves etc.  To begin with it went to plan..


I made the tree from short felted cords..
leaving enough fluff at the bottom to root it into the teacosy.
I'd also been asked to include the gate one this one :)
I used natural oatmeal BFL
rooted in nicely :)
Adding machine embroidery for definition
AND I finally remembered to take photos as I was free motion embroidering the script!  


I love my darning foot!  It's great for free-motioning..
I just follow the line of the writing on the tissue paper, being careful not to tear it
as I go.  This one was even trickier to machine stitch on than usual due to the tree lol
After stitching I tear the tissue off and pick out any tiny bits caught in the stitching

And this is where things went wrong for a while..  I had planned to use green glass seed beads, stitched to the limbs of the tree to represent leaves.  In my mind it worked.. in reality it really didn't!  After beading more than half of the tree I decided to take them all back off and do it differently.  So once again I beaded just over half of the tree.. again it just wasn't working, so off they came.  

After some tooth grinding and growling :)  I decided to cut small leaves out of a piece of variegated green felt left over from a previous project and stitch them on.. And I LOVE how it turned out now!  Shame I just didn't do it this way to begin with.  I had thought about it but got caught up with thoughts of perspective and how tiny the leaves would need to be.. DUH who said it needed to be realistic?!  

In the book the tree is described as always being decorated ready for a party, with coloured lanterns and bright streamers and garlands.. 

so I made 3 little lanterns from glass beads and fine brass wire
and strung them from embroidery thread streamers :)
Hand embroidered flowers everywhere
Finished & ready to go

I'm happy with how it turned out.. but OMG it took forever to finish!  

xoxo

Monday, 22 July 2013

Flap Bag #2 part 4

The final instalment :)  No need to say too much here.. just a few pictures 

Close up of front with hand embroidery in pure silk thread, and silver star beads sewn on
Under the flap 
The back has the biggest moon.
The smaller one was made from the unused portion of Mawata silk using a smaller bowl to get a crescent
I LOVE the little stars :)
Inside pockets
And there you have it.. my big moon flap bag :)  I had never done a handle like this before.. it turned out very strong and really comfortable on the shoulder 'cos of how cushiony it is.  I forgot to mention earlier that I did take the basting stitches out once it was felted :) .

xoxo


Tuesday, 16 July 2013

Flap Bag #2 part 3

Once the decoration was in place I carried on felting as normal..
Once it was holding together well I removed the bubble wrap beneath the flap
and worked it a little more
Time to remove the resists
Carefully cutting the underside of the flap, following the curve formed by the resist
and shaping of the bubblewrap

Once the resist was out of the handle I flattened it out and added some huge
basting stitches to hold it that way till it was finished

All edges carefully healed

with very wet soapy fingers

More rolling and pummelling needed

Fully felted, blocked and dried.
I forgot to take a photo of it blocked to dry - I stuffed it with tea towels
to hold it firmly in shape

Nice strong edges.
You can't spend too much time 'healing' your edges..
the better attention you pay to them early, on the nicer the finish will be
The next post will be the last one about this bag :)

Saturday, 13 July 2013

Flap Bag #2 part 2

The theme for this bag was 'Guess how much I love you book' by Sam McBratny...  So it needed the moon and stars..  

I made silky crescent moons - one for each side of the bag.


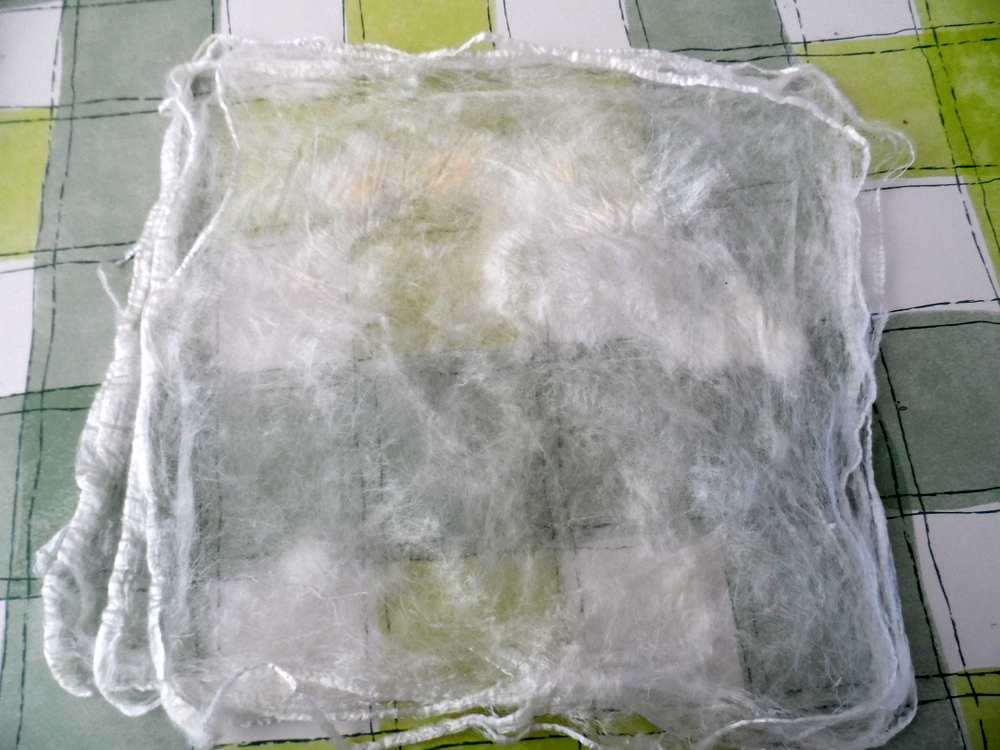
Several layers of mawata silk squares
Using a small plate as a template

to draw around with a gel pen.  

By moving the plate along and following the curve of one edge again
I got a nice crescent moon

Carefully cut out

Placed on the flap and wetted out.
I had already added greenery along the bottom (like in the picture below)
where it would show beneath the flap

This is the back of the bag. (before I flipped it and added the flap)
I wanted a hint of moonlit fields so added green with a few longer twists of green for grassy stems.
Some nice smoky blue/grey boucle yarn runs through the sky, and LOTS of tussah silk

Wednesday, 10 July 2013

Flap Bags #2 part 1

I almost forgot that I hadn't posted this!  A while back I posted how I made this flap bag and promised that there were more to come.. so here we go.

THIS flap bag was made rather differently to the last one.


My theme for this bag was the wonderful childrens book 'Guess how much I love you' by Sam McBratny..  this was one of my children favourite bedtime stories.. I read it sooo many times and we always enjoyed it :) Happy memories.  Anyway, back to the bag.  

I wanted a nice wide, long, strong integral handle.. so I cut the resist with the handle on.
2 pockets, one for an Iphone
I enclosed the resist in 6 fibre layers; 3 white Falkland fibre followed
by 3 dyed merino
I had left a fringe sticking up on top of the bag.  After flipping it I placed a piece of bubblewrap
on top, folded the fringe over and laid out 6 fibre layers on top of the bubble wrap
to form the flap
I used the same 6 fibre layers as with the rest of the bag, 3 white Falkland and 3 dyed merino

The next step was the decoration.. if I post all the process pics here it's going to be a monsterously long post, so I'm breaking it down :) and this seems like a good place to stop for now.
More soon
xoxo